Unlocking the Power of Templates in Microsoft Planner: A Step-by-Step Guide for Creating and Managing Organised Plans
Planner Plan Templates
Microsoft Planner is a powerful tool that allows users to create and manage plans and tasks in an organised and efficient manner. One of the most useful features of Planner is the ability to create plans using templates. This feature can save users a significant amount of time and effort when creating plans, as it eliminates the need to start from scratch.
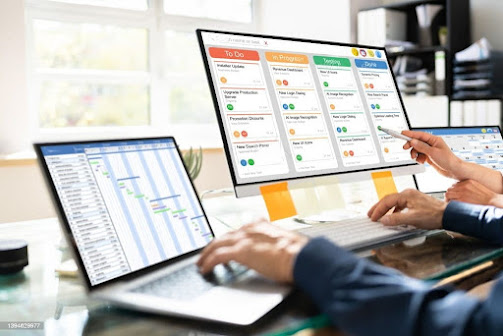
Creating a plan using a template in Planner is a straightforward process. First, users need to access the Planner homepage and select the plan for which they want to create a template. Once the plan is open, users can select the "More options" button, located in the top right corner of the page. From there, users can select the "Create template" option.When creating a template, users can choose to include the following elements: tasks, buckets, assignments, and checklists. Tasks are the individual tasks that make up the plan and can be assigned to specific team members. Buckets are used to organise tasks into different categories, such as "To-Do," "In Progress," and "Completed." Assignments refer to the team members who are responsible for completing the tasks, while checklists are used to track the progress of tasks.
Once users have selected the elements they want to include in their template, they can then select the "Create template" button. The template will then be saved and can be accessed from the Planner homepage, where it can be used to create new plans.
Using a template in Planner can save users a significant amount of time and effort when creating plans. Instead of starting from scratch, users can use a pre-existing template and simply add or remove elements as needed. This can also help to ensure that plans are consistently organised and formatted, which can improve the overall efficiency of the team.
Another advantage of using templates in Planner is the ability to share them with other team members. This can be especially useful for teams that work on similar projects or tasks on a regular basis. By sharing a template, team members can ensure that all plans are created using the same format and that all necessary information is included.
In addition to creating and using templates, Planner also allows users to customise existing templates to suit their specific needs. This can be done by editing the template's name, description, and tasks, as well as adding or removing elements such as buckets and checklists. This flexibility allows users to create templates that are tailored to their specific workflows and needs.
When creating plans using templates, users can also assign tasks to specific team members, set due dates and priorities, and add notes and attachments. This allows users to easily track the progress of tasks and ensure that everything is on schedule.
In conclusion, Microsoft Planner's template feature is a powerful and useful tool for creating and managing plans and tasks. It allows users to save time and effort by using pre-existing templates, and to create plans that are consistently organised and formatted. Additionally, the ability to customise templates and share them with other team members can improve the overall efficiency of a team. It's a great tool to use for creating plans for project management, team collaboration, and task management. By using templates in Planner, teams can work together more efficiently, ensuring that all plans are on schedule and that all tasks are completed on time.
Contact us:
- https://projectandplanner.blogspot.com/p/contact-us.html


Comments
Post a Comment